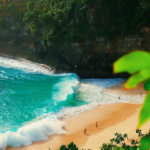
Beaches are mesmerizing landscapes that drench their visitors in pure joy, romance, and tranquility. If you are a photographer, you will be excited to freeze those moments of beauty unreeling at the beach. Whether you want to photograph its gentle waves, warm sands, and charming ambiance, beach photography is a breeze with proficiency in photography.
However, your mastery over it is always assured with sound knowledge and practice. Therefore, this article is designed to help you create the best portfolio, furnishing information on the best time to photograph, equipment, camera settings, and some proven techniques to produce stunning imagery at the beach.

What Is the Best Time to Take Photos on the Beach?
Beach photography is more about the environment. Therefore, knowing when the landscape looks its best is vital to produce breathtaking images. The best time to take photos on the beach depends on your goal.
For a flattering beach portrait photograph, choose the mid-afternoon when the sunlight is subdued. This way, you can prevent your subject from blinking or squinting. Additionally, it is at this time the blue shade dominates the ocean and the sky.
Alternatively, if you are keen on shooting the ocean and its landscape, you can choose any of the below timings:
The Golden Hour
Often referred to as the magic hour, the golden hour marks the time of the day, an hour before sunset and after sunrise. The beaches are usually less crowded during the golden hour, helping you eliminate distractions. At this time of the day, the sun is wrapped up in vivid warm colors with eye-catchy shadows and stark contrasts. Consequently, the final images of your work are not overexposed.
The Sunsets: Most photographers prefer to photograph the beach during the sunset. This is because the sun’s glow highlights the horizon line and stains the sky with warm colors.

The Sun Rises: At this time, the colors of the sun are pretty undiluted and appear natural.

Night photography
You can capture the ethereal beauty of the beach during the night. The night is often lit up with the moon or the stars, and the ocean waves offer incredible images.

Apart from the right time, it would help if you also looked out for the presence of some aspects of beach photography; they are:
Appearance of Clouds
Unlike nature photography, beach photography is devoid of mountains and thick forests to complement the vastness of the sky. Therefore, you must fill these negative spaces in your images. For this, you can always watch out for the cottony clouds to appear and include them to reduce the negative space.

Bad weather
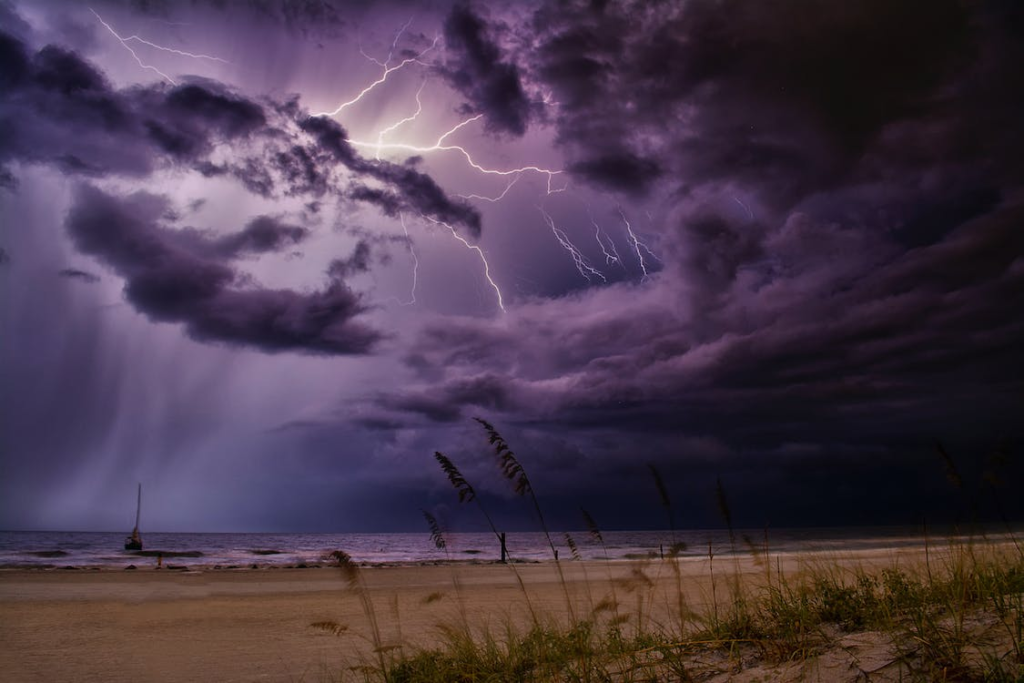
Whether it’s a stormy, foggy, or snowy day, bad weather is a part of the charm of beach photography. You can generate unique, splendid atmospheric images while clicking at this time of the day. Therefore, don’t shy away from utilizing the opportunity the weather offers you.
Equipment Required
You don’t require any sophisticated equipment for beach photography. Your required equipment can vary depending on what you plan to capture. However, it is necessary to carry materials to protect your camera as the beach can accumulate sand in your camera. Here is a checklist of equipment to take while venturing out for your session.
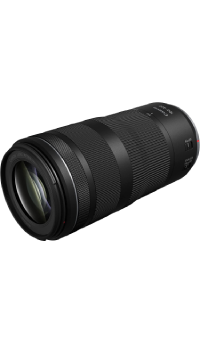
Lens
Depending on your expectations, you will have to carry different lenses as they serve a specific purpose. Here is a table for more clarity:
| Types of lenses | Purpose | Function |
| Wide-angle lens | To Capture the vast sweeping beaches and ocean | This lens uniquely captures your subject in the foreground as close and low as possible. This creates a sense of depth that draws the viewer into the image. For example, if you want to shoot at a distant ship, you can capture its distance without moving further away. |
| Telephoto lens | For shooting portraits along with some landscapes. | This lens makes your subject appear closer to reality. Hence, it is most appropriate when you cannot get closer to a subject. |
| Zoom lens | You can use a zoom lens of 24-70 mm focal range to protect your camera. This way, you can avoid changing lenses and prevent sand from getting into the camera. | Zoom lenses come with a wide range of focal lengths, facilitating a quick re-framing of the scene while maintaining the same position. |

Lens Hood
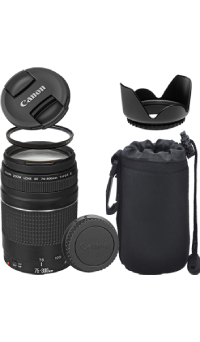
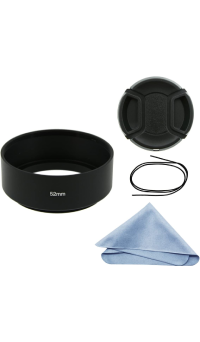
While photographing during the day, the bright sunlight can wash out your resultant image. The water and white sand reflecting off the daylight further contribute to this phenomenon. Therefore, add a lens hood to avoid the light entering the lens from extreme angles. This will prevent your image from becoming hazy.
Camera Bag
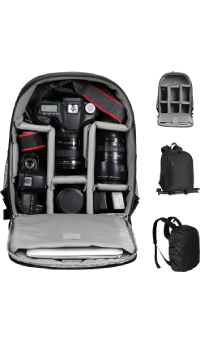
While shooting in a beach location, your equipment is vulnerable to sand accumulation. To prevent this, you can opt to use weather-sealed cameras and lenses while shooting. These will protect against dust to an extent. In addition, you can opt for a durable and sealed camera bag while not shooting.
Air Blower
A lens blower comes to your rescue when sand accumulates in your device despite your measures. First, you can use it to clear the sand from your lens’s front glass element. Following this, you must use a lens cloth to wipe your lens. However, ensure not to reverse the procedure as you will end up scratching your lens.
Camera Flash
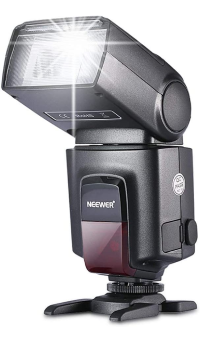
A camera flash is crucial while shooting a beach portrait. The sun shines intensely during the mid-afternoon, distorting your subject’s features. This is when you can seek the help of a camera flash to equalize the illumination across your subject’s face. You can opt for an on-camera flash to cast light and avoid shadows while preventing overexposure. Additionally, you can use a diffuser to soften the flash’s intense glare. Alternatively, you can divert the sunlight and cast it from a low angle on your subject’s face with a silver or golden reflector.
Tripod
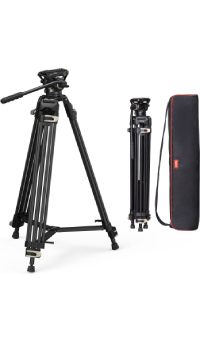
It would help if you shot at slow shutter speeds for long exposure during the golden hour. However, this can cause your camera to shake, rendering a variable composition. In such cases, a tripod comes in handy as it helps maintain a camera’s stability. It also helps to capture the movement of clouds or water.
Filters
In bright daylight, you will have to optimize the amount of light reaching your camera sensor to get well-exposed photos. For this purpose, you can choose from a wide range of filters tailored for beach photography. Further, a filter renders an extra layer of protection against beach sand. Here are some filters to consider buying:
| Types of filter | Purpose | Advantage | Disadvantage |
| UV filter | Filters UV light reaching your lens and sensor. | Most affordable | It can cause a hazy or light-leaking effect. |
| Polarising filter | It prevents overexposure, enhances blue color, darkens the shadows, and suppresses glare from reflective surfaces. | Most suitable investment for beach portraits. | Not suitable while shooting during the golden hour. |


What Settings Should I Use for Beach Photography?
Before understanding the settings for beach photography, you must always choose to:
- Shoot RAW
- Switch to manual mode
This is because the presence of water and abundant light in a beach environment can easily entice you to over or underexpose your image. Hence, following the above ways will help you establish your control over exposure and fix your errors during post-processing.
Your settings for beach photography vary depending on if you’re shooting a beach landscape or a beach portrait.
Beach Portrait
The best time to shoot for a beach portrait is during the midday sun. Here are some recommended settings:

Faster Shutter Speed
For beach portraiture, you must avoid motion blur. Therefore, shooting your subject at a faster shutter speed is advisable.
Low ISO
Opting for a low ISO renders a sharp image with less noise. If you use a tripod to mount your camera, pick ISO 100. Alternatively, pick up ISO between 100 to 400 to minimize camera shakes and ensure a faster shutter speed if you use a handheld camera.
Vary Your Aperture Depending on Your Subject
On the other hand, when it comes to the aperture, it depends on what you are shooting.
Narrow Aperture
You can go with a narrow aperture if your subject is a cluster of objects at the beach. You can choose an aperture around f/5.6 or f/8 to ensure all your things are focused and sharp.
Wide Aperture
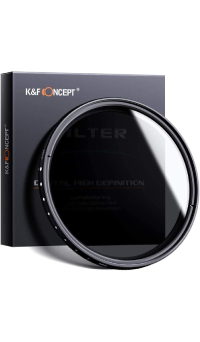
Alternatively, you can opt for a wide aperture to blur the background and isolate your subject. If you fear overexposing the image, use an ND filter to limit the amount of light entering the lens.
Beach Landscape
The best time to shoot for a beach landscape is during the golden hour or night. Here are some recommended settings:

Vary Your Shutter Speed Depending on Your Subject
While shooting the beach landscape, you can choose a shutter speed depending on the effect you wish to highlight in your resultant image.
Slower Shutter Speed
If you want to capture the exciting motion effects of a seashore, use a slower shutter speed. This can include subjects like ocean waves or a group of people playing beach volleyball. If you encounter challenges while slowing down your shutter speed, attach an ND filter to control the amount of light entering your lens.
Faster Shutter Speed
On the other hand, use a faster shutter speed to freeze the movement of a subject. For example, a bird in flight or an ocean wave splashing against a rock.
ISO
Generally, for landscape photography, the recommended ISO setting is 100. However, while photographing ocean waves during golden hour, you require a slightly higher ISO.
Alternatively, a higher ISO will be the right choice to gather maximum light from the scene if you plan to shoot at night. So, start with ISO 1600; depending on the location, you can increase or decrease it further.
Aperture
For seascape photography, your focus must be on the scene, and it is best if you can cover from the foreground to the background. To achieve this, you can set the aperture in the range between f/11 to f/16.

How Do You Take a Good Beach Picture?
Use Your Shot to Tell a Tale
The beauty of the beach landscape is so tempting that we often focus on capturing the ocean waves. However, this doesn’t count as a prime focal point. Alternatively, you could focus on random objects, materials, or insects. This will draw your viewer’s attention while unraveling a tale.

Look Out for a Unique Perspective
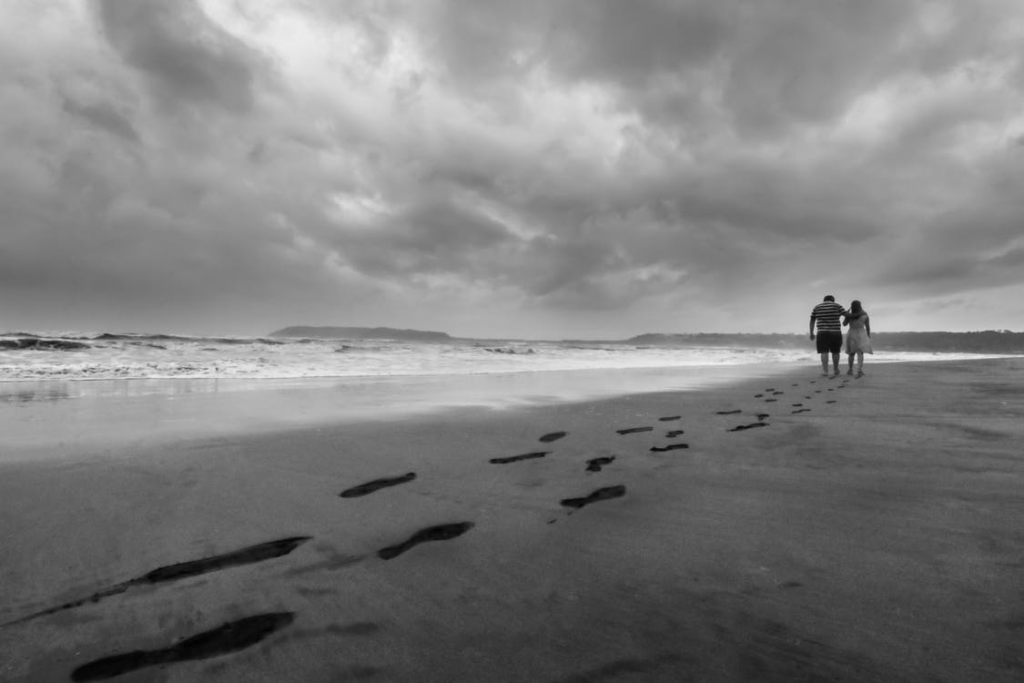
Unique patterns and designs are native to a beach landscape. Hence, look for textures and exciting details and blend them appropriately while composing your image. For instance, you could integrate subjects like footprints on wet sands, which are unique to this environment.
Include people
While photographing landscapes, it could be distracting to include people. However, you can prefer to add them to give a sense of creativity and dynamism to your image. Therefore, asking for their permission to take a snap is good. Additionally, ensure to photograph them when they are the most immersed in their surroundings for a candid shot. This way, you will record the feeling they experience while within the environment.
Alternatively, you can take advantage of kids’ excitement for the beach and use them appropriately. For example, you can capture their moments at play, building sand castles or playing with their siblings along the shoreline. Since kids quickly submerge into their activities, you can easily click a candid shot at them.

Use a Flash
While capturing beach portraits, you will encounter the challenge of handling too many shadows against your subject’s face. In this case, you must use a flash to help illuminate their faces against a bright backdrop. This ensures your image is well-exposed, balancing all the reflected light from the white sand, sky, and ocean waters.
Adopt Exposure Bracketing in the Absence of Filters
The beach is rich with abundant light, posing a challenge for you to get a well-exposed image. However, without a filter, you can adopt the exposure bracketing technique, wherein you can take multiple photos with different exposures. Later, you can select the right images while post-processing and blend them into a single image.
Balance the White to Convey the Mood
At the beach, the atmosphere plays a pivotal role in instilling a specific mood in your images. Hence, changing the white balance according to the atmospheric conditions in your image is necessary. For example, you can switch between cooler and warmer colors to convey the right mood and scene to your viewer.
Use a Drone
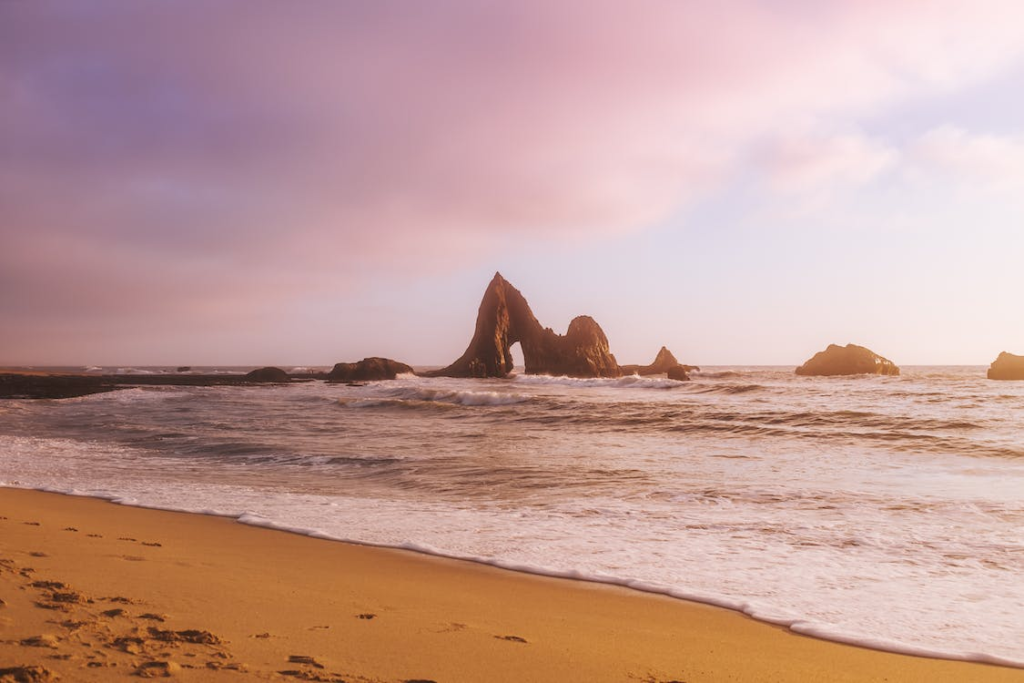
The expansive beach view is at its best when you use a drone. The intermingling of the sand’s yellow, the sky’s shades, and the waters deep blue elevate the touch of your image. Amidst this, you have the ferocious or the calm waves, sunrise, sunset, and changing shades of light, adding a picturesque view to your work.
Split the Sunlight
You can alter your aperture settings to play with sunlight. For example, you can split the sunlight with your lens blades. For this to happen, partially focus the sun and set your aperture around f/11 or smaller.

Find Reflections
Adding reflections gives a unique perspective to your image. For example, when it comes to the beach, you can find the reflection of clouds and people on the sand, their shadows, reflections from rock pools, puddles, and water retention in the sand after the tide has swept away.

Look for Silhouettes
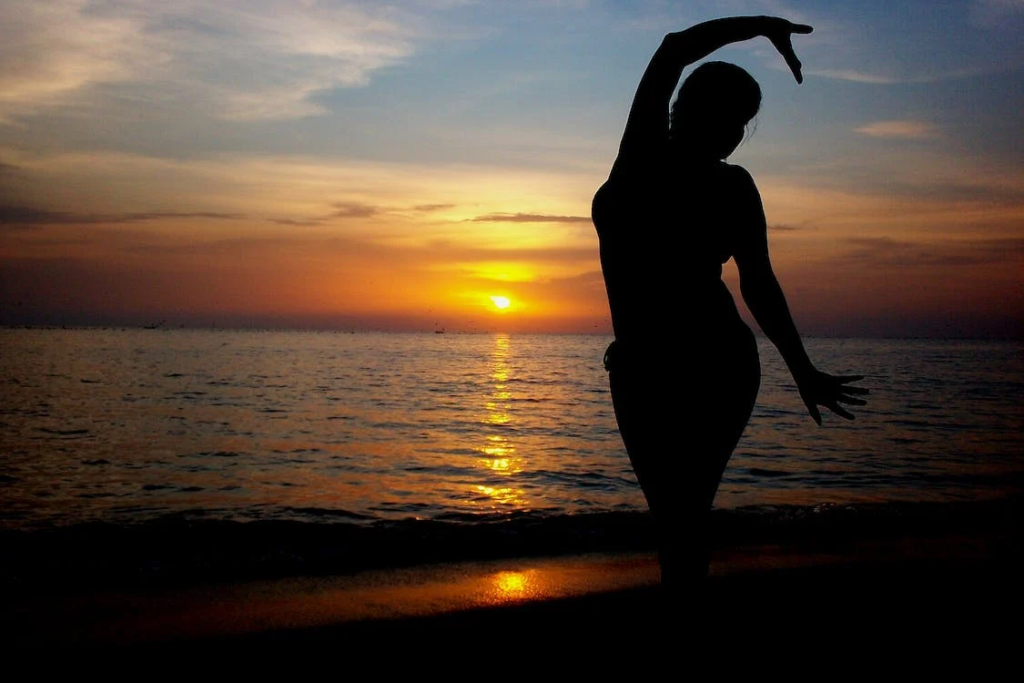
There is no perfect hour other than the golden hour to capture the silhouettes. They are excellent ways to divert distractions from the subject, like facial expressions, patterns, etc. Devoid of distractions, silhouettes successfully emphasize your subjects.
Explore the Unexplored Subjects
Apart from beach portraits and beach landscapes, you can get hold of other subjects. These include boats, a protruding bridge, seaweed, or other debris near the shore. If you don’t wish to focus on the sweeping ocean, you can still concentrate only on the shoreline and still get exciting subjects for your photography.

Include Aquatic Life
Aquatic animals decorate life in the ocean and coastline. Hence, it is most appropriate to include them or use them as subjects while indulging in beach photography. Along the coast, you can look for exciting creatures like crabs, starfish, and turtles. You can also include activities like turtle walks, where volunteers actively relocate the olive ridley’s eggs to safer locations during their nesting season.

Align the Horizon Line
People often associate the horizon with a straight line. However, a crooked horizon line can disturb the perception of balance in your image. Therefore, it is vital to continually align the horizon line straight from one end to the other.

Go Black and White
The pristine bokeh of color pallets from the sky, clouds, and water provide a natural contrast. Hence, going black and white highlights the differences in their intensities to create dramatic effects. Alternatively, you can always seek a monochrome filter to post-process your image.

Final Thoughts
With the play of the sun’s hues, beach photography is an exciting field to capture photos for various occasions. It exemplifies the background of diverse situations, from candid clicks, fashion photography, wedding, and maternity to travel shoots with your family and friends. Master your skills and refine your passion with a dedicated practice that positively impacts your portfolio. Then, be ready to portray the wonders of the beach with your expertise and unique perspective!
Videos
27 Best Beach Photography Ideas Easy To Try
5 Tips for Better Beach Portraits | Master Your Craft
Working with Harsh Sunlight – Fashion Photography Behind the Scenes
Which lens is good for beach photography?
Gallery


