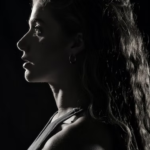
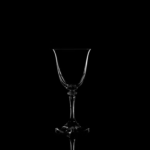
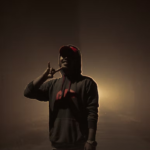
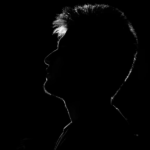
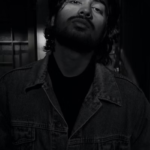
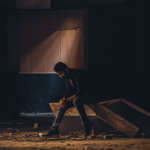
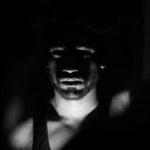
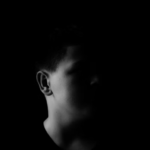
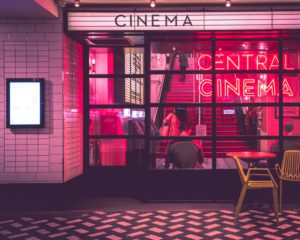
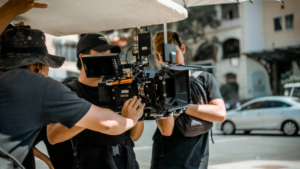
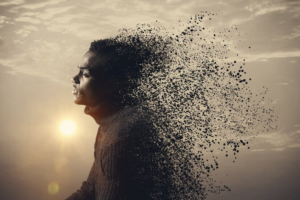
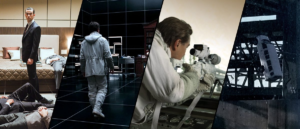
Cinematography and photography are two-dimensional mediums by definition. Great cinematographers and photographers, on the other hand, make use of light to create three-dimensional effects. The rim light is one of the instruments they have to do this.
A rim light can help prevent a flat image. Shapes, textures, and contours can be brought out by rim lighting, giving an image a more vibrant appearance. So, what exactly is rim light, and how can it be used to create stunning images? Explore the nuances of rim light through this article.
What is a Rim Light?
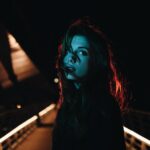
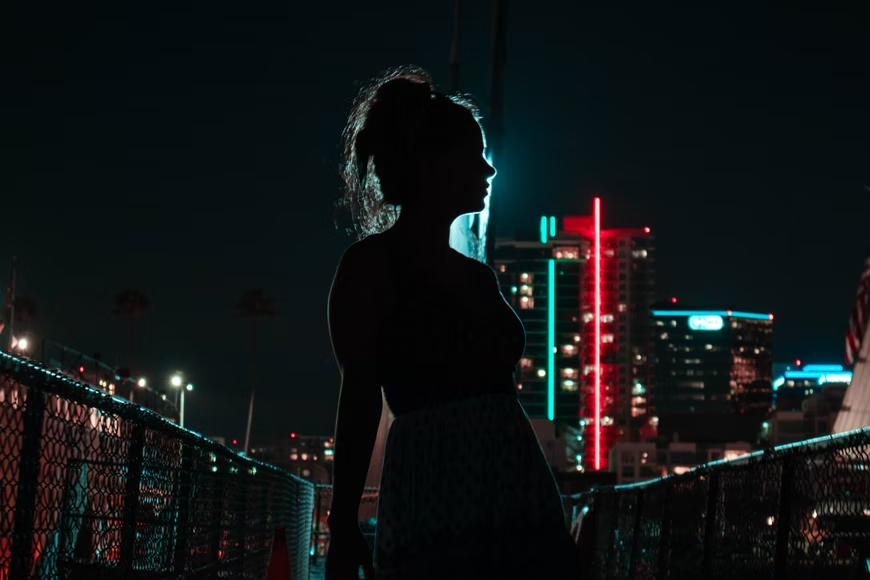
The rim light is positioned behind a subject and illuminates the subject’s outline or rim. This lighting emphasizes a subject’s contours and gives a dramatic and mysterious appearance.
You can use rim lights in several different ways. For example, you can create a styled image with solid contrast, and utilize various lighting settings, such as the classic three-point lighting system. These lights are commonly referred to as “hair lights” or “halo lighting” when utilized in other lighting configurations.
Uses of Rim Light
- Dramatic portraits
- Product photography
- Highlight a subject’s shape and contours
- To separate the subject from the background
Rim Light in Photography – Dramatic Portraits
When we think of film lighting, we often consider how light exposes different parts of a subject. What’s left in the dark, on the other hand, is just as significant. Rim light photography employs both darkness and particular areas of exposure to generate dramatic and emotional photos.
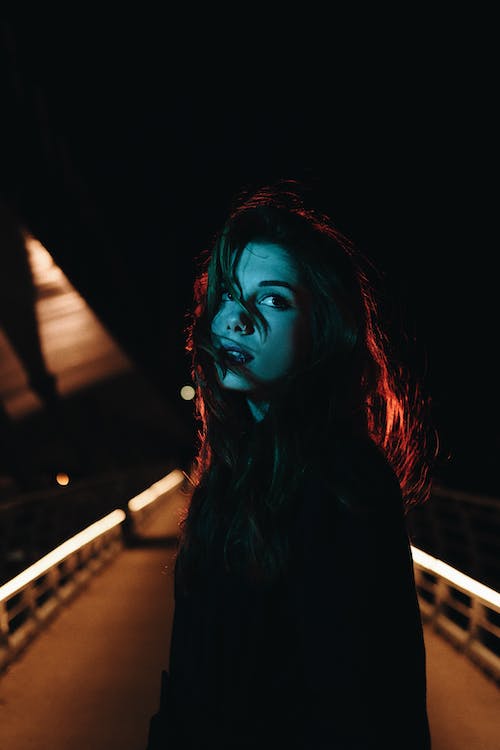
The mystique of a topic can be enhanced using rim light photography. You can present your person as an enigma by obscuring their facial characteristics and details while emphasizing their shape. Consider rim light photography if you want to add a dimension of drama or mystery to your photos.
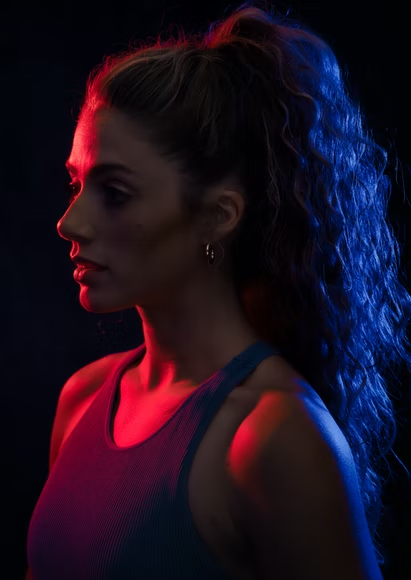
While you can utilize this lighting on its own, it can also be used with other lighting configurations to significant effect. Let’s see how it works with different types of illumination.
Rim Light in Cinematography – Create Separation
The main light, fill light, and backlight are all part of the typical three-point lighting configuration. These lights can be employed as a sort of backlighting to separate a subject from its surroundings. Using modest LED rim lights is the simplest method to accomplish this.
Rim light works especially well when the subject is photographed at night against a dark background. Take a look at how one of the top cinematographers in the field, Robert Richardson, uses this type of light.
Richardson employs a “hair light” or “halo light” in one of Quentin Tarantino’s best films, The Hateful Eight (2015).
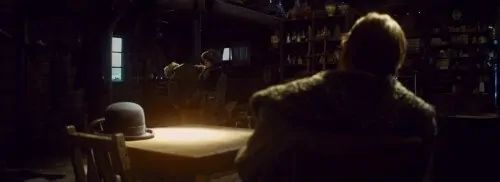
Three-point lighting uses rim light to bring out three-dimensional forms and space in a two-dimensional image. The gap this light provides between protagonists and backdrops adds depth to a photograph, instantly elevating it to cinematic status.
Rim Light in Storytelling – Thematic Lighting
Rim lighting can help make a picture look more dramatic, but it can also help tell a tale in cinematography. In addition, these lights can be utilized to establish a character’s attributes or the tone of a scene.
Irwin, the protagonist of Northfork (2003), meets angelic visits. The employment of a rim light lends these individuals a divine quality that serves the plot. This is not a particularly visible technique, which is a good thing because it takes you out of the experience when you see filmmaking techniques.
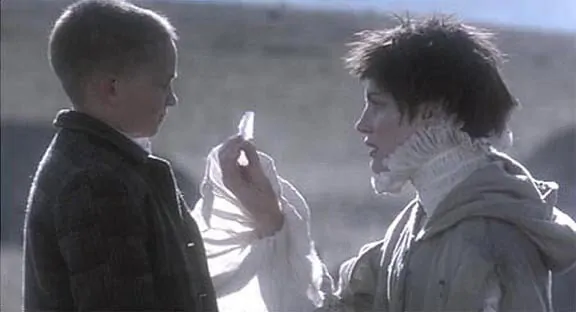
Tonally and visually, this shot contrasts sharply with the previous example from The Hateful Eight. Both, on the other hand, take advantage of this light to generate cinematic pictures. The tale you are presenting and the aesthetic you want to achieve will determine the best function for this lighting in your photographs.
Experimenting with rim light can assist you to figure out what you can do with it. Let’s look at a simple key light configuration that you may use as a starting point.
Rim Lighting Setup
Edge lighting, as previously stated, can be used on its own or as part of bigger lighting setups. Let’s start with a lighting configuration that just relies on edge lighting. We will be referencing the Adorama team’s demo for this configuration. In the video below, they demonstrate how to use rim light for portraits.
How to Create Low-Key Rim Lighting
Place a Light Right Behind Your Subject
Place your light source squarely behind your subject for a single light configuration. This will reveal your subject’s shape while simultaneously masking the light behind them. This may be the only light you require, depending on your subject. However, extraneous features will undoubtedly be exposed when using a single light configuration. Flyaway hairs in the image below demonstrate this. To counteract this, you’ll need to adjust the light’s location.
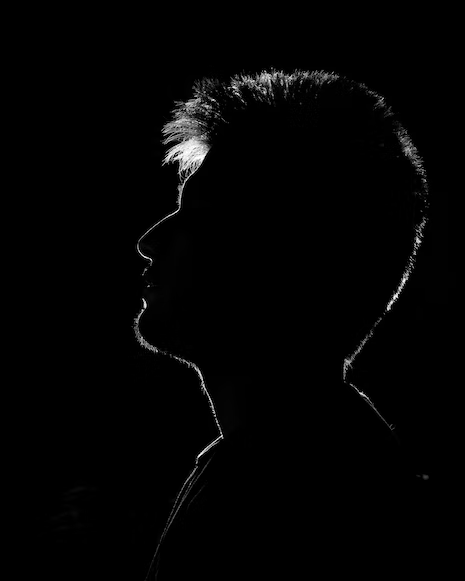
Move the Light Sidewards
Keep the light behind the person but to the side of their face to create an edge light that shows facial contours without exposing unpleasant characteristics. You should aim the light at your subject. If possible, use silk or a softbox to diffuse the light. You can see how altering the angle of the light exposes the subject’s facial characteristics. Still, you will need to add another light to expose the subject’s back.
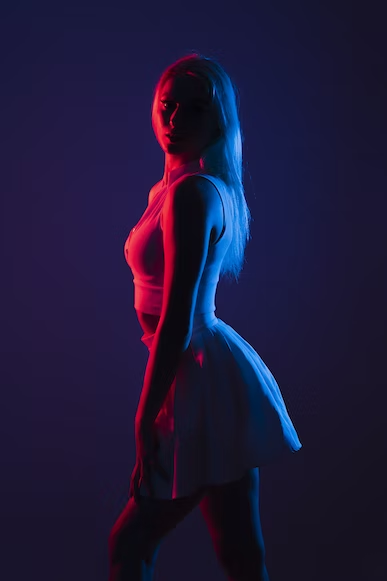
You can see how shifting the light’s angle exposes the subject’s facial characteristics. Still, you’ll need to add another light to expose the subject’s back.
Add a Second Light Right in Front of the First Light
You should place a second light on the opposite side of the first light. Aim this light at the rear of your subject’s darker side.
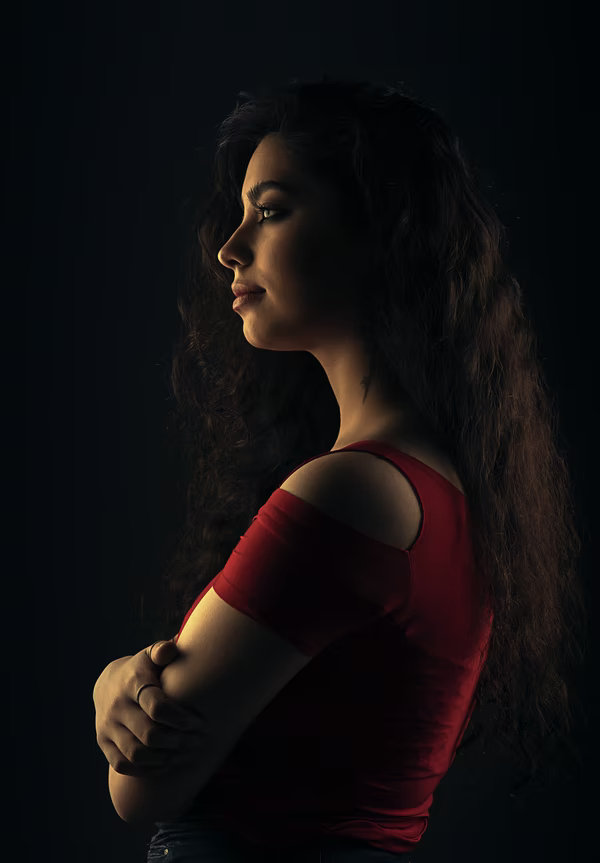
This second light will bring out the previously hidden form of your subject’s back. It can aid in the creation of a more comprehensive image, which is ideal for profile photos.
Rim lights can be a lovely light configuration for portraits and dramatic pictures on their own. However, edge lights are frequently utilized in cinematography as part of a broader lighting arrangement. Let’s look at how to put up a three-point lighting arrangement with an edge light.
What is Rim Light in Three Point Lighting?
A key light, a fill light, and a backlight are used in three-point lighting. Rim lighting is a popular alternative when it comes to backlighting.
Place a Light Right Behind Your Subject
Make sure the light is on the same side as your primary light and behind your subject. It will usually face the same direction as your fill light.
Raise the Light Higher
Raise your light higher and angle it down at your subject using the various settings of the light stand. This produces the “halo illumination” effect, giving subjects depth and distinguishing them from their surroundings.
Experiment and be Creative
Rules are frequently bent and broken in movies, as they are in other things. These settings are meant to be starting points from which you can experiment and deviate. After all, according to Roger Deakins, learning to play with light is an essential element of learning to light.
Roger Deakins on Learning to Light
Experiment with the quality of your light as well as the position of your light. Changing the intensity, color temperature, or gels in your image can provide varied effects. Manipulate the light to serve your plot best, whether using edge light to give the figure divine attributes or make them mysterious.
Adding Emotions Through Rim Lighting
When it comes to portraying emotions, rim light is fantastic. The couple in the picture welcomed their new baby girl and tried out a rim light in the living room with the pregnant partner before the due date.
The man in the picture decided to snap the standard, instead cliché picture of the father kissing the mother’s belly. However, the man saw the sun rising from behind the Earth as viewed from space while kissing his partner’s baby bump.
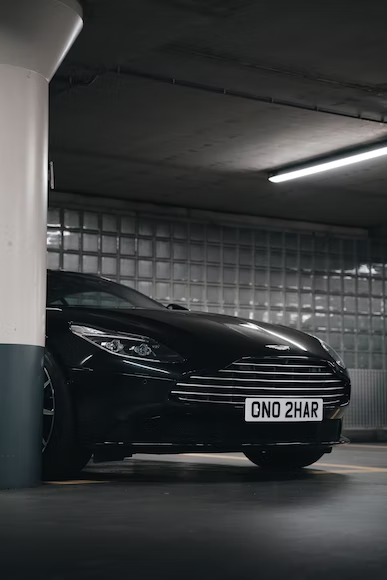
Special Effects in Rim Light Photos
Because a rim-lit scene is backlit, including smoke or aerosols in the frame is a simple method to add interest. Both will trap and scatter light, resulting in some intriguing effects.
To make this self-portrait image more engaging, the man in the photograph has sprayed water:
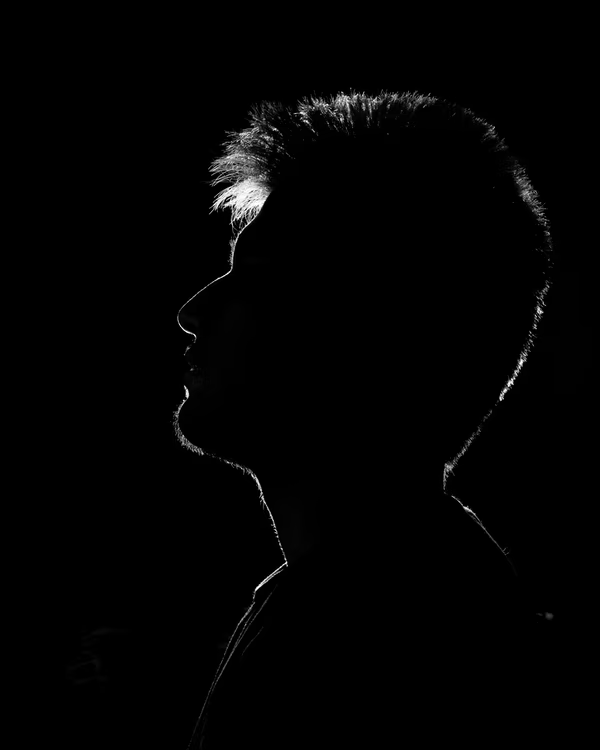
You may also try turning the model toward the light and allowing the flash to illuminate their face for a unique effect:
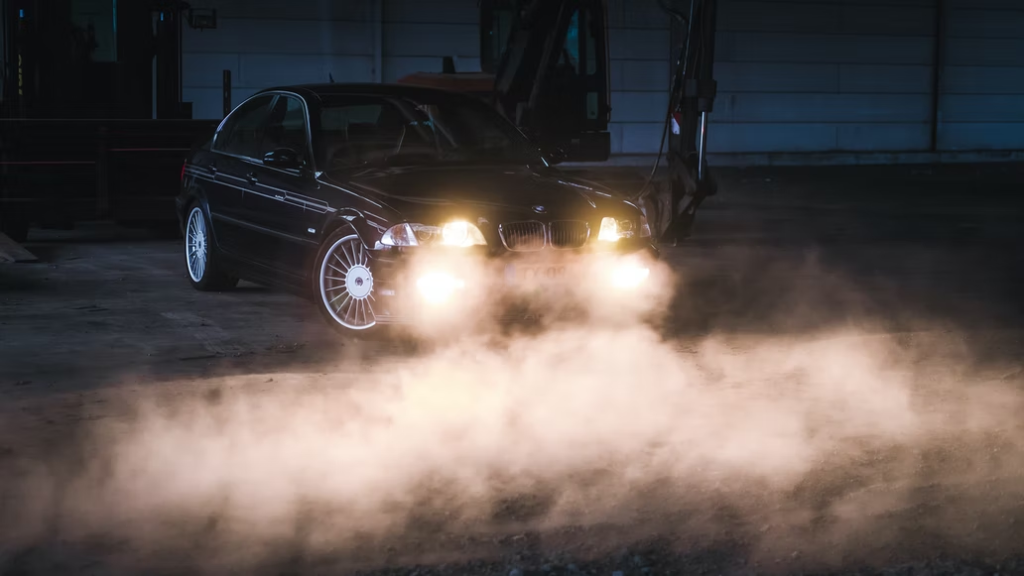
Include smoke if you want to amp up the drama. When a rim light hits smoke, it looks spectacular. As you can see in this photo, it brightens while the subject remains dark.

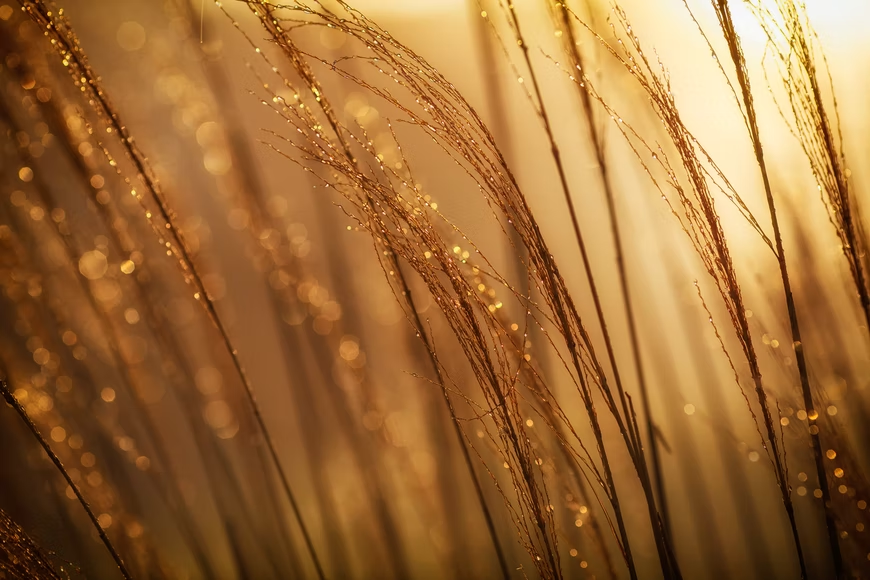
You can make a rim out of almost any edge. However, using unusual edges pays off if you want the most eye-catching outcomes. Hair, fur, grass, and other softer edges, such as hair, fur, and grass, are recommended over rougher edges. Instead of a single flat edge, each little hair or blade of grass will be rim-lit, enhancing the rim-light impression.
While you can create rim-light-only photos with just a bright rim and nothing else, you can also create interesting, high-key silhouettes by reversing the rim light and pointing it at the background. You can get an all-black subject on an all-white background if you have a white backdrop close to the light source and can keep light from touching the front of your subject, as shown here:
Things to be Kept in Mind While Using Rim Light
Out of Proportion/Blow-Out Highlights
The easier it is to blow out the highlights, the lighter the topic or the part of the image that is rim lighted. This is especially problematic if your rim light is stronger than your key light, which is more common when shooting with natural light.
If the light is behind the subject, it comes to reason that the side facing you will be in shadow and so darker. Therefore, the subject will be underexposed if you expose the light behind it. However, if you reveal the subject, the rim lighting will create blown-out highlights on your subject.
Solutions
- To maintain the high light settings, underexpose the photograph and then bring up the shadows post-production.
- Use a reflector or off-camera flash to illuminate the subject by bouncing light back into their face.
Apart from the light-colored floor, both of these photographs were lit entirely with natural light and no reflectors. The exposure was adjusted to her face, which was not illuminated. As a result, the first shot has blown-out highlights on her hair. In Lightroom, the second photograph was underexposed and tweaked.
The Wrong Background
The background’s color impacts the visibility of rim light on the subject; dark backgrounds show rim light, whereas bright backgrounds do not. After all, white on white is not particularly noticeable.
Unneeded Flare
Flare is incredibly popular in photography, to the point where many photographers create flare in post-production. If you want a flare, that is fine, but if you do not, you should be conscious of where your light is when photographing a scene. Lens flare will be seen in the image if the light is in a shot or just out of shot.
Excessive Light
You might easily wind up with too much light leaking onto your topic if you are not careful. Rim lighting should highlight the subject’s edge and fade away fast, leaving only a sliver of light on her. More than that, as you can see in the image below, it becomes distracting rather than complimenting.
Post-Processing of Rim Light Portraits
A rim light effect can be substantially altered by fine-tuning your portrait during post-production. For example, changing the mood by darkening or lighting different portions of the image is possible. As you have more information saved in your RAW file than in a jpeg, this will be easier to do with a RAW file.
Gallery
Conclusion
There are various ways to apply this method to achieve the appearance and mood you desire, as with all photographic approaches. Experimentation is essential, particularly when trying anything new. Making a rim light portrait can assist you in gaining a better idea of the light balance you need to attain. Try using solely available light to create the rim light effect. Once you’ve mastered that, add a flash to your mix.
Photograph your subject with the sun behind you and the flash in front of you. For a more appealing result, I recommend that you diffuse your flash. If that does not work, try putting the flash behind your subject. When the flash is set up for backlighting, no diffusion is required. A snoot or grid can assist direct the light and prevent it from leaking out from behind. If you have access to studio lighting, you can experiment with many more light setups. It’s ideal for giving yourself lots of time and finding a willing and patient model.
